
Dying sola wood flowers with glycerin
Share
With its many advantages and uses, Sola wood has inspired many art lovers and enthusiasts. Though Sola wood is nothing new to craft history, its recent rise in popularity is mainly due to its versatile and long-lasting nature. It is one of the lightest woods known as sola or shoal, made from Aeschynomene Aspera.
In marshy areas, the plant grows, and its timber is known as the lightest wood. Tapioca, that is, the starch derived from the Cassava plant's roots, is also produced from these flowers. In badly mineralized soil, this plant does exceptionally well.
In addition to being used for sola wood flowers, tapioca plants are also used as staple foods in tropical areas. The sola plant bark is removed to reveal the cream, cork-like core. This core is then turned into thin sheets and used for the creation of different craft items. Sola wood is foam-like, easy to mold, and soft to touch. Versatile and diverse are the items made from this wood. Any form, color, and appearance you can give them. It is most widely used these days, however, to make lovely sola wood flowers.
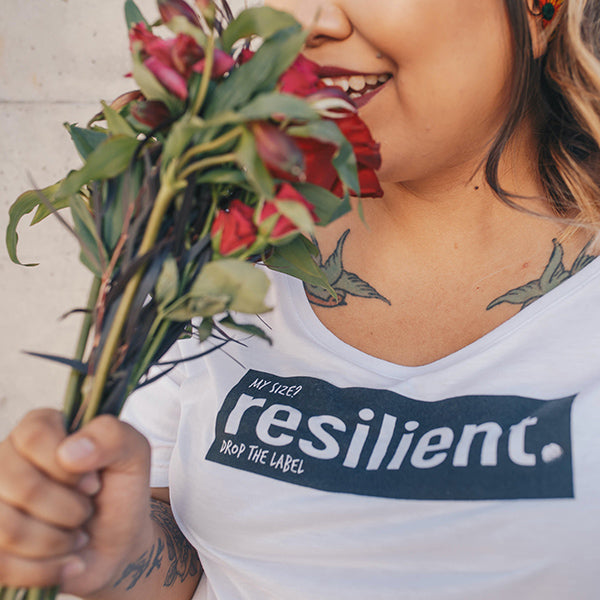
The eco-friendly and organic alternative to cut flowers is wooden flowers. These flowers are simple to dye and are popular for bridal bouquets, interior decoration of the home, and wood flower arrangements for wedding decor arrangement.
Raw sola flowers are flexible and extremely elegant pieces that, on any occasion, can easily win hearts. Dyeing, however, brings the imagination to the next level. Adding sola wood dye colors from basic dip techniques to airbrushing and applying gradients is a fun way to make spectacular and colorful pieces highlighting the full spectrum of your floral artistry. Let's look at the various ways of dying sola wood flowers.
· Make the water and glycerin base:
Start by creating a foundation for your water and glycerin. This is what you can combine when you dip your flowers with your paint. This blend is used because it can soak the glycerin in the wood. This holds soft and hydrated cells. Use vegetable glycerin instead of animal glycerin, and over time, animal glycerin can become yellow.
Let 3 cups of water boil. Then add in 1 cup of glycerin until the water is boiling. Before mixing with your paint, let the mix cool to room temperature. You're going to have more than you would like, but this can be preserved for later use and saved.
· Mix the paint:
In the bowl, combine the same sections of your paint (8oz) and water/glycerin mix (8oz). Use less water for a darker color and more water for a lighter color. There is no single percentage that works best. It just relies on how you want them to turn out. To mix with your stir stick, stir.
Use the same dye solution for color variation, then add more water for a lighter hue. To produce a lovely gradient effect on your flowers, you can break the solution into smaller batches and add varying water quantities. Start by plunging the sola flower into the lightest shade and then apply the darker shades as you paint towards the center using a small paintbrush.
· Dip the flowers
To make sure you don't miss any gaps or crevices between the petals, turn the flowers into the dye a few times. It might be appropriate to open some of the flowers a bit and reshape them. Once they have soaked up in the warm dye, this is much easier to do. They are fragile, and if you are too rough, the petals will rip off, so be careful with them. It'll make you very pleased with the way it worked out in the first round. It will also make you happily shocked at the richness of the pigment. It's been so much better than you expected. Once you get into the groove, it will be a really fast operation.
· Let it dry:
Place on your drying racks the dipped flowers. Turn them on every few hours to ensure that they dry uniformly. It took the flowers approximately 24 hours to dry completely. Still, the weather could be more humid or drier depending on where you live, resulting in varying drying times.
· Scenting:
Let's face it, taking a whiff of the delicious fragrance of sola flowers is your second favorite thing to do with flowers. That's part of what makes it particularly attractive to real flowers.
But, by adding oil-based fragrances that can last from 3-6 months, Sola Wood Flowers has stepped up the game. With a hint of fresh, zesty mangoes, one drop is all you need to keep your arrangement smelling like key lime pie or jasmine.
To spread the oil scent in flower uniformly, drop the oil on the flower's base. Its porous nature will allow the petals to penetrate the oil. A few minutes after it sets in, the sola wood flower fragrance will come out beautifully. It is so successful that aromatherapy brands began to produce diffuser reeds topped with sola flowers in the diffusion fragrance!
· Stem the flowers
It is time to stem them after the flowers are dehydrated. It is certainly not the most exciting aspect of the project to stem a single flower, but stemming sola flowers is an important part of making centerpieces and bouquets. A stable stem is a key to a long-lasting craft project that lives on long after the case, whether it's floral wires or bamboo stems. The least of your worries should be if the flowers will hold up until the end of the party after long hours of laboring for the right color and arrangement.
Squeeze enough hot glue onto the flower base before poking it with a stem to hold the stem in place. It will harden up and keep the stem where it should be, with the hot glue in place. No more worry about bits of long stem sola flower falling off a centerpiece or wreath!
That's when you will start to arrange them on the floral foam after adding a stem to all your flowers. When you have all the sola wood flower stems and fillers right in front of you, it's much easier to imagine how your project will look.